Living in areas prone to unstable grid conditions means dealing with sudden utility disruptions on a regular basis. Whether it is scheduled load shedding, unpredictable load reduction, or sudden grid trips triggered by severe thunderstorms, losing power mid-work or being left in the dark is frustrating.
For homeowners looking to take control of their domestic power security, setting up a hybrid inverter paired with modern lithium-ion storage serves as an ultra-reliable Uninterruptible Power Supply (UPS).
This guide explores the engineering behind setting up a hybrid backup system, outlines the step-by-step physical positioning and wiring preparation, and emphasizes why respecting the boundaries of DIY work versus certified professional sign-off is critical for safety and insurance compliance.
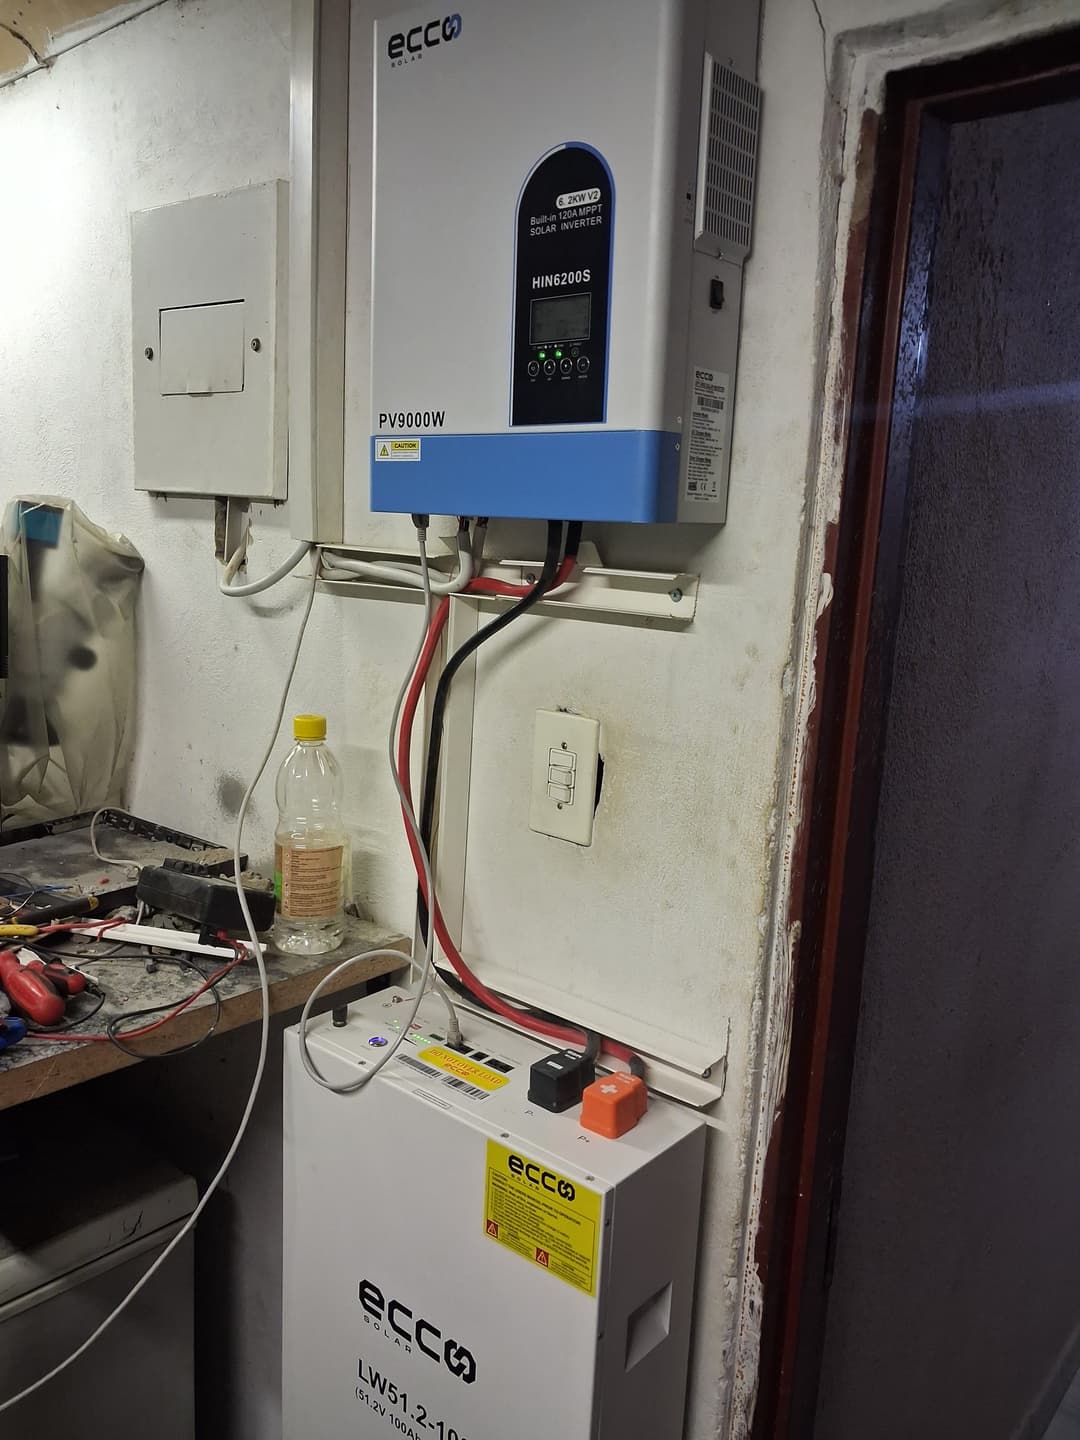
Figure 1: A clean wall-mounted hybrid inverter and LiFePO4 battery rack setup serving as a whole-home UPS.
Understanding the Threat: Load Shedding, Load Reduction, and Storms
Grid instability typically manifests in three distinct ways, each demanding robust backup capabilities:
- Load Shedding: Planned utility shutdowns designed to balance nationwide power demand and supply. These are scheduled, giving households time to prepare, but they deplete standard lead-acid batteries quickly if not managed.
- Load Reduction: Unannounced localized throttling or feeder tripping implemented by utilities to protect transformers from exploding under excessive, localized overloads. These happen without warning.
- Thunderstorms: Severe weather events that induce lightning strikes, voltage spikes, and sudden substation trips. Lightning storms require lightning arrestors and surge protection devices (SPDs) integrated directly into your backup architecture.
Unlike standard generators that take 10 to 30 seconds to kick in (leaving computers and sensitive electronics to reboot), a properly configured hybrid inverter switches over in milliseconds (less than 10ms), acting as a seamless UPS.
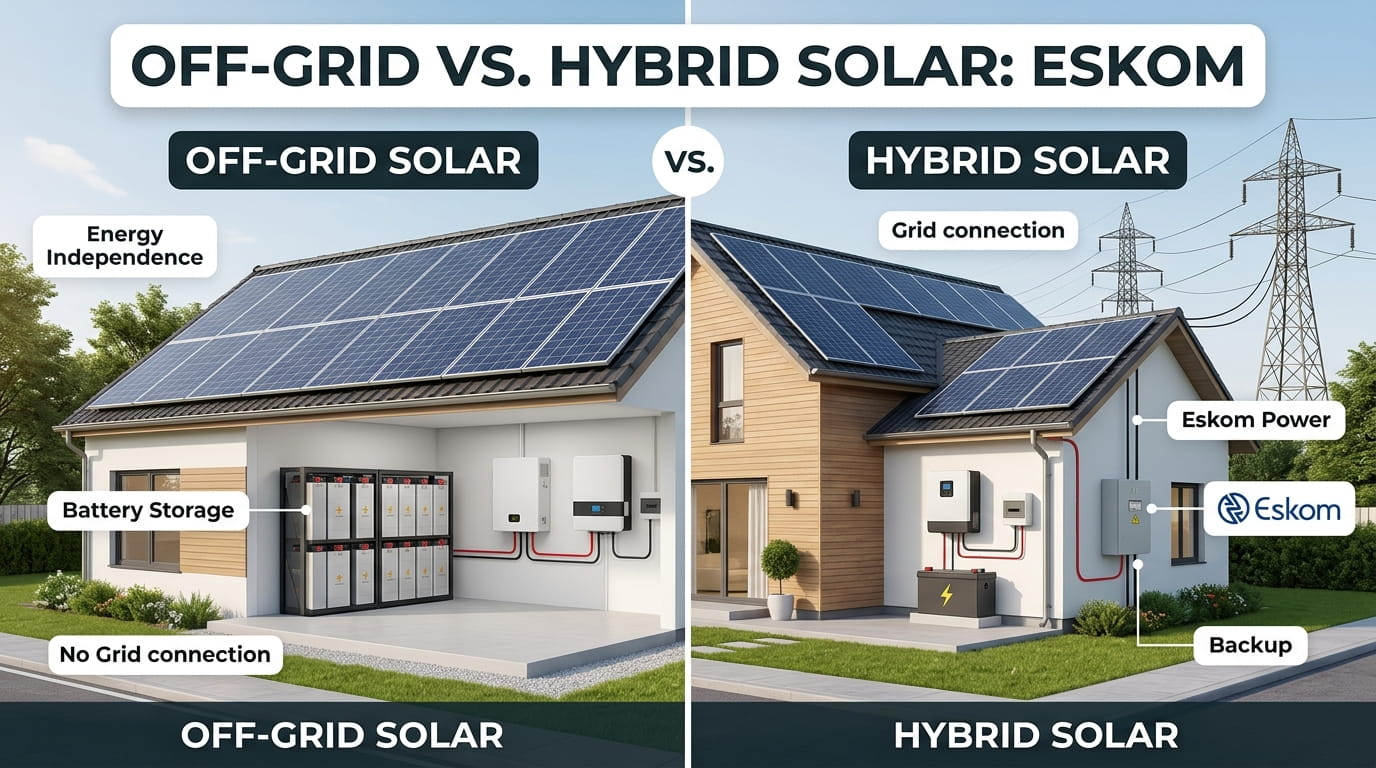
Comparing Backup Topologies
To understand why hybrid systems excel during storms and load shedding, review the comparison matrix below.
| Feature | Off_Grid_System | Hybrid_Inverter_UPS |
|---|---|---|
| Transfer Time (UPS Function) | N/A (Standalone) | < 10ms (Seamless) |
| Battery Chemistry | Lead-Acid / LiFePO4 | Lithium-Ion (LiFePO4) |
| Grid Interaction | Isolated / None | Bi-directional Grid-tied |
| Best Suited For | Remote Farms | Urban Blackouts & Storms |
The DIY Aspect: Scope, Preparation, and Legal Boundaries
Disclaimer: While much of the physical mounting, conduit routing, and system configuration can be performed by a knowledgeable DIYer, high-voltage AC grid connections, main distribution board (DB) integration, and legal compliance certification must be handled by a qualified, licensed electrician in accordance with local municipal regulations (such as SSEG guidelines).
What You Can Do Yourself (DIY Scope)
- Equipment Sizing & Procurement: Calculating daily kilowatt-hour (kWh) usage and selecting matching inverters and batteries.
- Mechanical Mounting: Securing heavy inverters and battery brackets to load-bearing masonry walls using heavy-duty anchor bolts.
- DC Cabling Prep: Cutting and crimping battery power cables with proper hydraulic lug crimpers and applying heat shrink.
- Communication Wiring: Running RS485/CAN communication cables between the battery Management System (BMS) and the inverter port.
- Monitoring Setup: Configuring Wi-Fi modules, setting up mobile apps, and mapping out load priorities.
What MUST Be Left to Professionals
- AC Main Tie-In: Tying the inverter’s AC output into your main distribution board via a proper changeover switch or transfer contactor.
- Earth Leakage and Bonding: Ensuring the neutral-earth bond complies with local electrical safety codes during islanding mode.
- AC/DC Surge Protection Certification: Signing off on the electrical Certificate of Compliance (CoC) required for property insurance and municipal small-scale embedded generation (SSEG) registration.
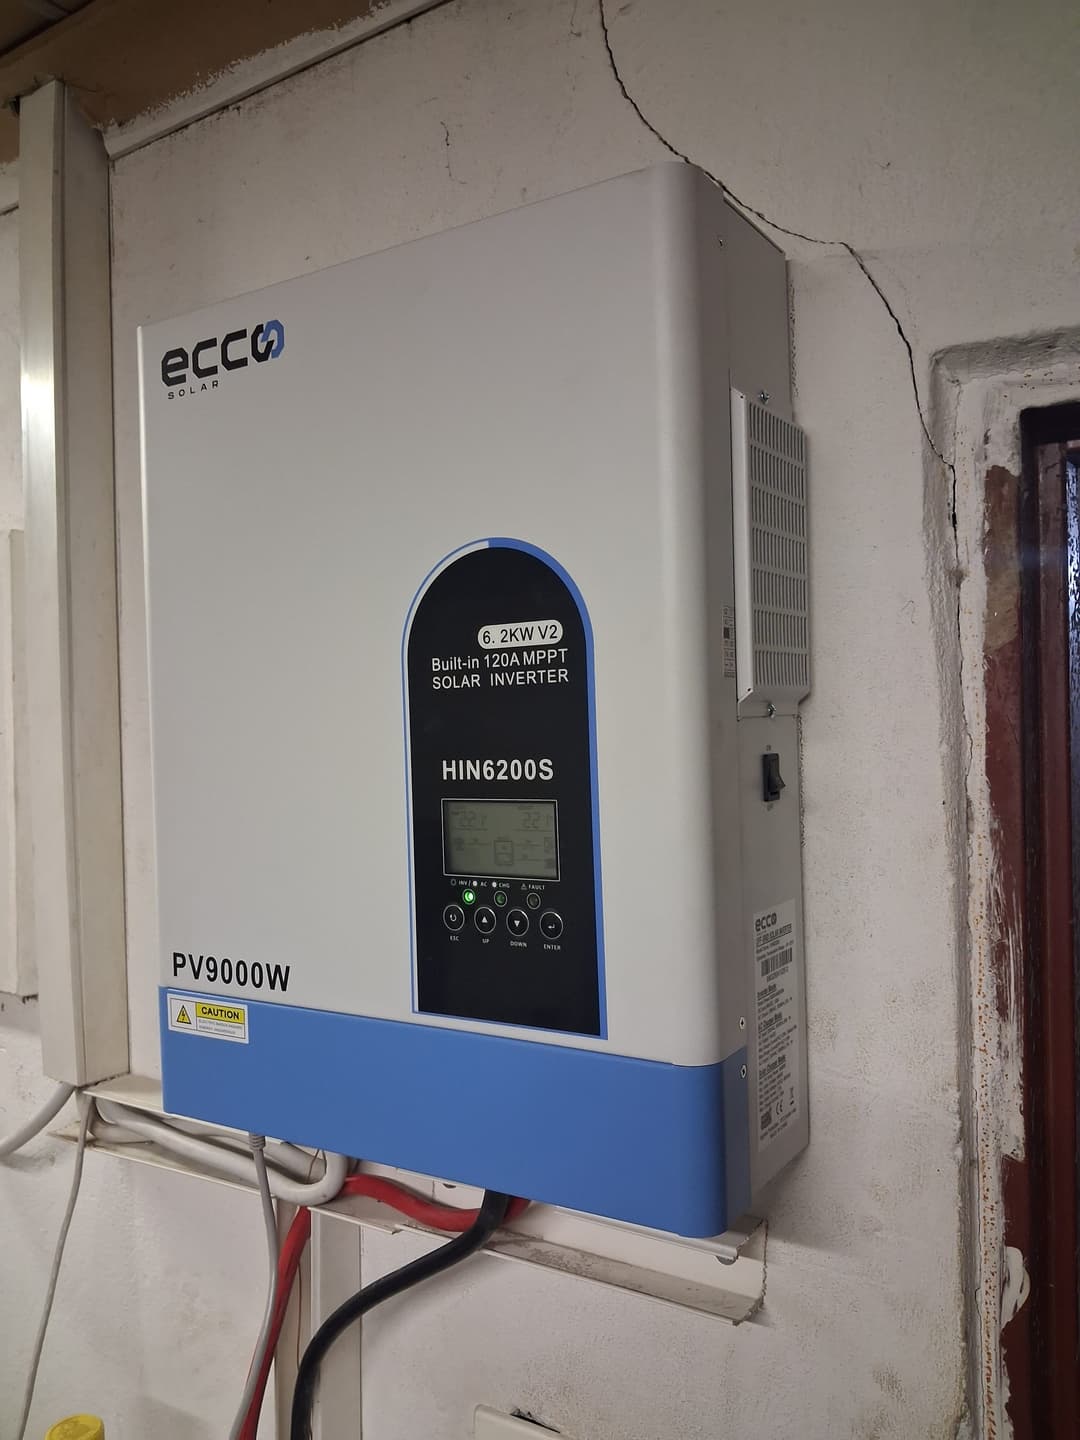
Figure 2: Organized DC cable management and conduit routing for safety and thermal dissipation.
Step-by-Step Installation Workflow
Step 1: Site Selection and Wall Preparation
Choose a well-ventilated, dry indoor location away from direct sunlight and moisture—such as a garage, utility room, or dedicated plant room. Lithium-ion batteries and high-frequency inverters generate heat during heavy charging cycles; adequate clearance around the chassis is mandatory.
- Mount the heavy-duty mounting plate using spirit levels. Ensure fasteners can support weights exceeding 50kg (inverter) and 45kg+ per battery module.
Step 2: Mechanical Placement of Inverters and Batteries
- Hang the hybrid inverter securely onto its mounting bracket.
- Position your lithium-ion battery modules (typically rack-mounted or wall-stacked LiFePO4 packs) directly beneath or adjacent to the inverter to minimize DC cable run lengths.
Step 3: DC Power and Communication Wiring
Voltage drops and high current draw require thick, flexible welding-grade copper cables (typically 35mm² or 50mm² depending on inverter amperage).
- Install DC Isolators: Always place a rated DC disconnector switch between the battery bank and the inverter.
- Connect Battery Terminals: Connect positive-to-positive and negative-to-negative. Never reverse polarity.
- Connect the BMS Communication Cable: Plug the CAN/RS485 data cable from the master battery communication port into the inverter's BMS port. This allows the battery to broadcast its state-of-charge (SoC) and temperature directly to the inverter firmware, preventing overcharging.
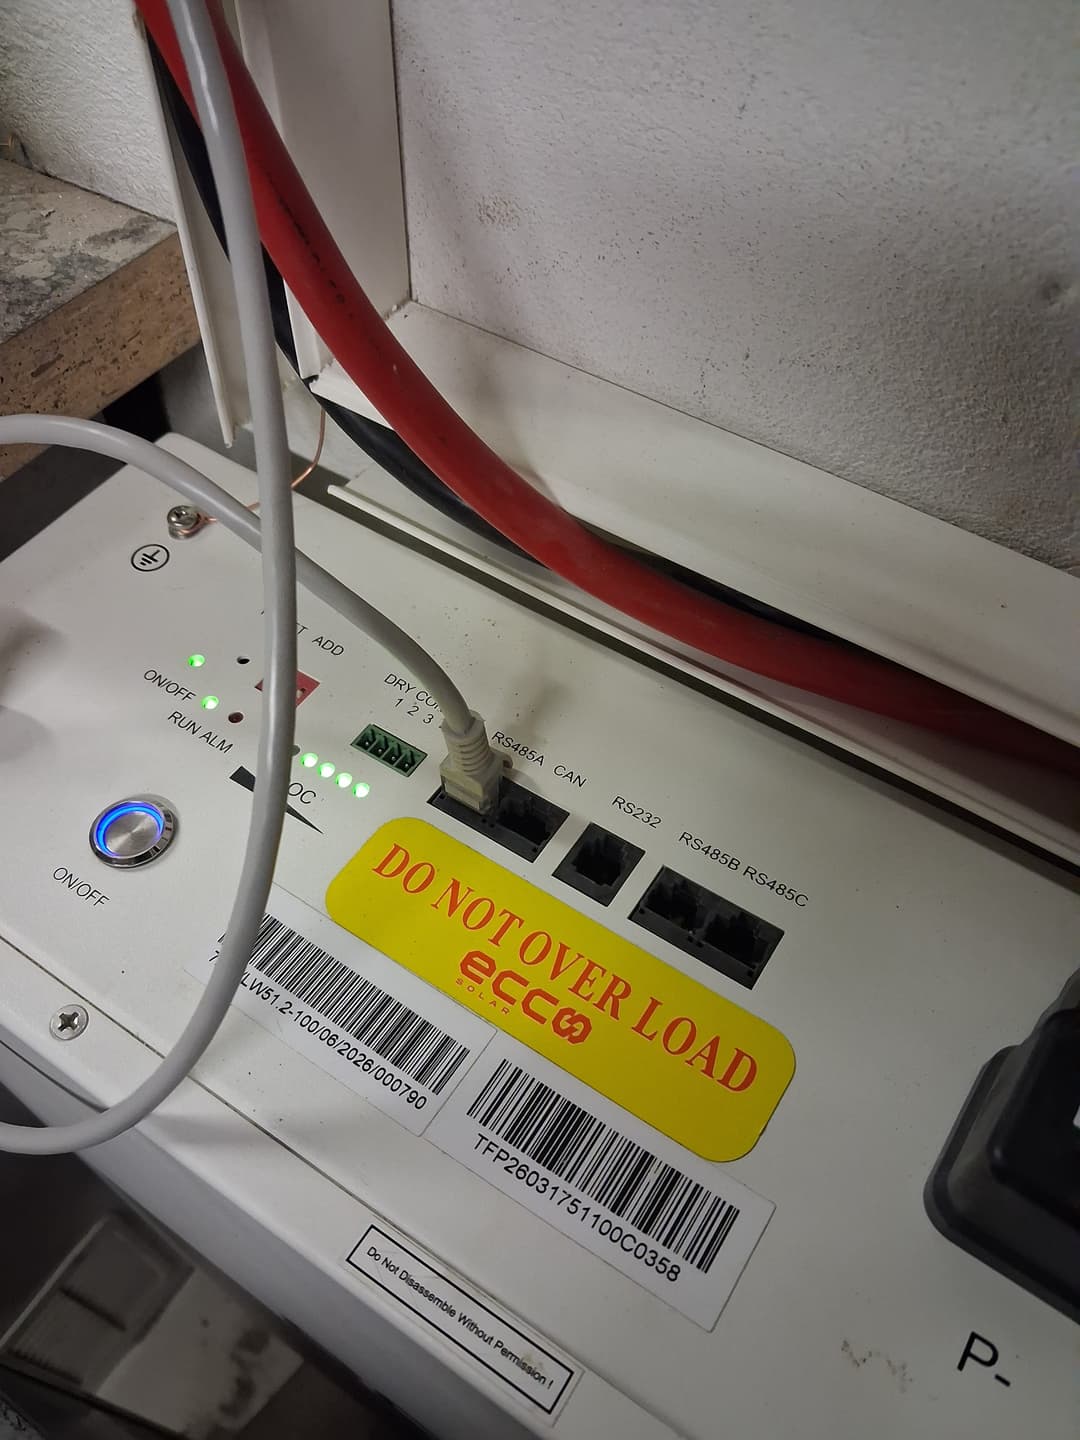
Figure 3: Secure battery terminal connections paired with dedicated BMS data communication lines.
Step 4: Lightning Protection and Grounding
Because thunderstorms are a primary driver of sudden grid failures, surge protection is non-negotiable.
- Install Type II DC surge protection devices (SPDs) on the solar PV string inputs (if applicable) and battery DC lines.
- Install Type II AC SPDs on the incoming grid supply line inside your sub-board.
- Ensure a low-impedance earth spike is bonded to the inverter chassis and mounting rack.
Step 5: Critical Loads Sub-Board Integration (Electrician Handover)
At this stage, hand over the AC integration to your licensed electrician:
- A separate Critical Loads Sub-board is wired to feed essential circuits (Wi-Fi router, refrigerator, lights, security gates, and home office).
- Heavy appliances like electric ovens, geysers, and pool pumps are isolated from the inverter backup output to prevent overload trips during extended load reduction windows.
Step 6: Firmware Configuration and Commissioning
Once power is restored to the system:
- Power on the battery management system (BMS) first, followed by the battery breaker.
- Power on the hybrid inverter DC switch.
- Access the LCD setup menu or mobile provisioning app.
- Set battery parameters: Select lithium chemistry, set maximum discharge depth (DoD) to 80%-90% to preserve cell longevity, and configure grid charging schedules to align with off-peak tariffs or load shedding warnings.
Summary and Maintenance Best Practices
Installing a hybrid inverter system transforms your home into a self-reliant sanctuary against load shedding, load reduction, and unpredictable weather-induced thunderstorms. By undertaking the mechanical and cabling prep yourself while leaving high-voltage AC connections to certified experts, you ensure both cost-efficiency and absolute safety.
Maintenance Checklist:
- Inspect DC terminals quarterly for signs of thermal loosening or corrosion.
- Clean or replace inverter cooling intake filters every 6 months.
- Test the UPS transfer speed bi-monthly by manually simulating a grid outage.
Would you like to consult with us regarding your home energy needs? Contact us for a no-obligation Chat. We're here to help.
If you know already have something in mind, we might have what you're looking for, please visit Tech and Bids to search for what you need.