A television stuck on the manufacturer startup logo or endlessly cycling through power-on routines is one of the most common issues facing modern Smart TVs. Known as a TV stuck on boot logo or a boot loop, this behavior typically indicates corrupted system firmware, overloaded flash memory (eMMC/NAND), or power instability on the main system board.
This diagnostic guide helps homeowners differentiate between simple software lockups that can be fixed at home and hardware-level EEPROM failures that require mainboard replacement or repair.
1. Step-By-Step: Initial Soft Reset & Discharging
Before attempting complex firmware recovery procedures, perform a deep power reset to clear temporary memory caches and static charge from the main processor.
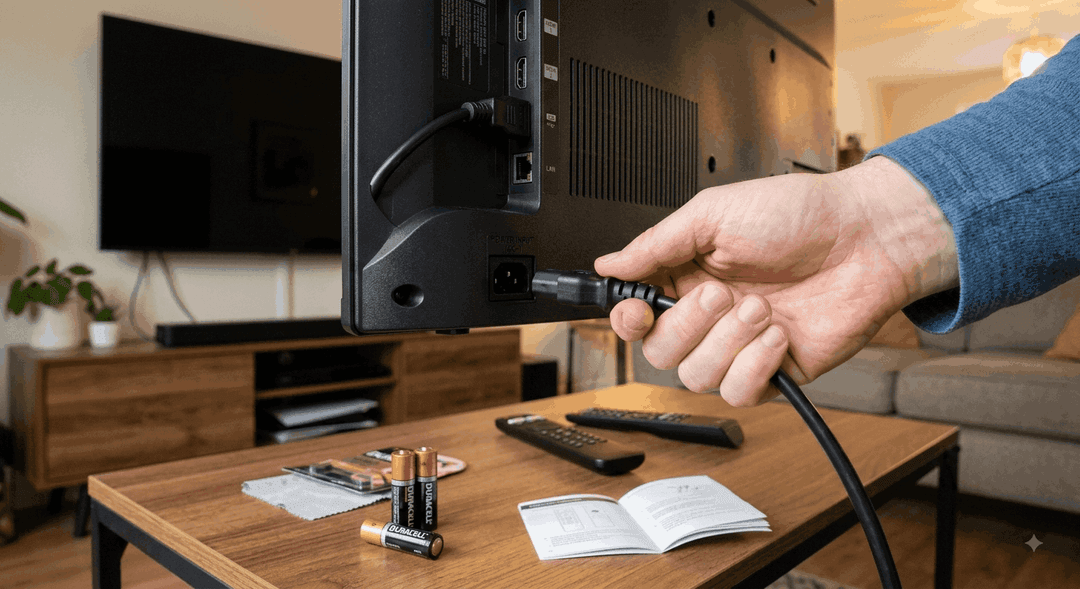
Figure 1: Fully discharging capacitors and static charge from the TV mainboard logic circuits before attempting recovery.
Power Reset Instructions:
- Unplug Power: Disconnect the power cord directly from the wall socket.
- Disconnect Peripherals: Remove all external HDMI inputs, USB flash drives, ethernet cables, and soundbars. A faulty peripheral or HDMI-CEC signal can force an endless restart.
- Drain Capacitors: Press and hold the physical Power Button directly on the TV cabinet (not the remote) for at least 60 seconds.
- Resting Period: Leave the TV completely unpowered for 15–20 minutes to allow logic ICs and volatile memory to clear fully.
- Direct Wall Reconnection: Plug the power cord directly into a wall outlet without surge protectors or extension blocks and attempt power-on.
2. Performing a Hard Reset via Physical Button Shortcuts
If the soft reset fails, many Smart TV platforms (Android TV, Google TV, Roku TV, Tizen, WebOS) include hidden physical button combinations to trigger a hardware factory wipe or recovery environment.
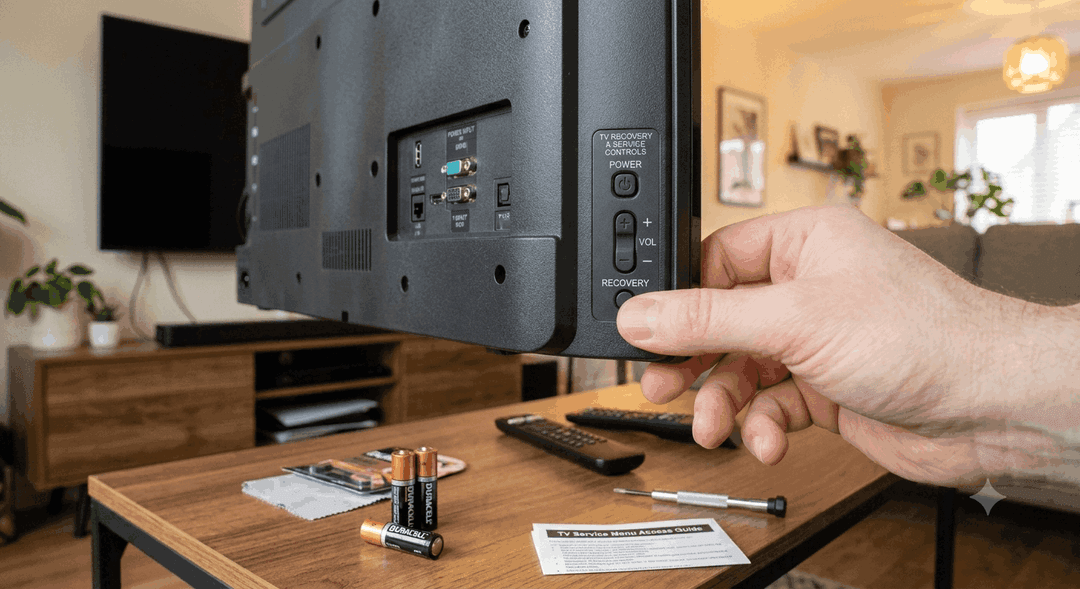
Figure 2: Locating rear control joystick or power/volume buttons used for forced recovery modes.
Universal Hard Reset Methods:
- Power + Volume Down Method: While the TV is unplugged, press and hold both the physical
PowerandVolume Downbuttons on the back panel. Reconnect the power cord while holding the buttons until the LED light changes pattern or screen flashes. - Mute + 1 + 8 + 2 + Power (Remote Service Combo): On select models, issuing service code sequences while putting the unit into standby can force a factory data reset.
- Roku TV Reset Button: Insert a paperclip into the small recessed
RESEThole near the HDMI ports, hold for 15–20 seconds until the logo restarts, then release.
3. Advanced Diagnostic: Force Update TV Firmware via USB
When the internal system partition is corrupted, the operating system fails to boot past the initialization sequence. Performing a force update TV firmware USB procedure re-flashes the bootloader and operating system from an external drive.
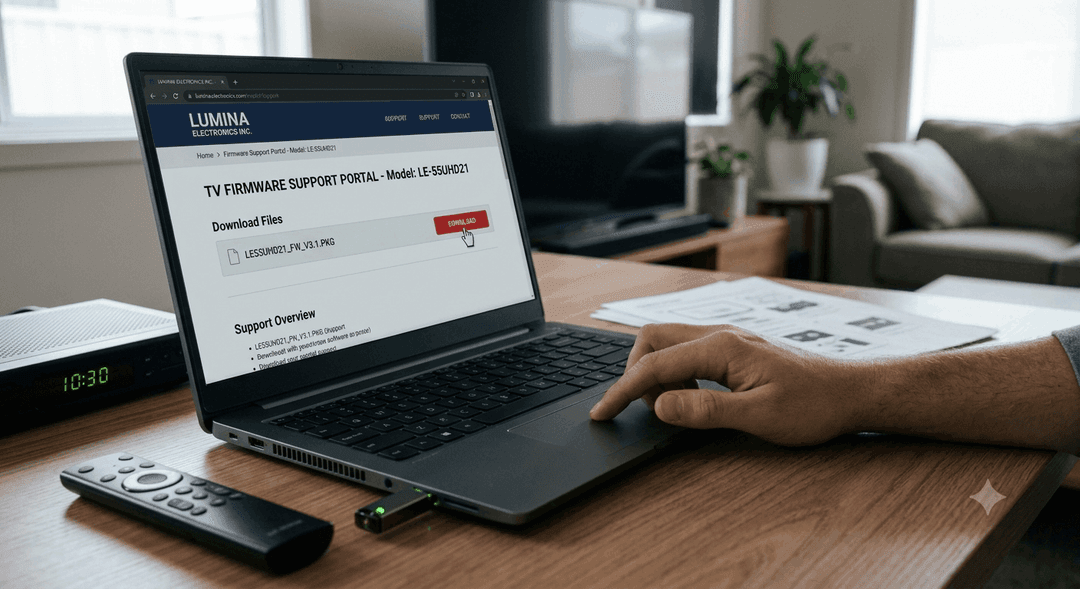
Figure 3: Preparing a FAT32-formatted USB drive containing official binary firmware for TV mainboard firmware recovery.
Step-by-Step USB Firmware Recovery Process:
- Obtain Exact Firmware: Visit the manufacturer support portal and download the exact firmware package for your specific TV model and serial number prefix.
- Format USB Flash Drive: Format a 8GB to 32GB USB flash drive to FAT32 (or MBR partition structure). Avoid NTFS or exFAT as bootloaders frequently fail to read them.
- Extract Firmware File: Extract the downloaded
.binor.pkgfile directly to the root directory of the USB drive (do not keep it inside a subfolder). - Execute Forced Boot Update:
- Disconnect power from the TV.
- Insert the USB drive into the primary
USB 2.0 (Service/HDD)port. - Hold the physical
Powerbutton on the TV chassis while plugging the power cord back into the outlet. - Continue holding until the power indicator LED blinks rapidly or a "Updating Software" progress bar appears on screen.
4. Hardware vs. Software Failure Assessment
Use the following flowchart matrix to decide if the issue can be solved via home recovery or if mainboard replacement is necessary.
              [TV Boot Loop / Stuck on Logo]
                            │
                            ▼
                  Perform Deep Power Reset
                            │
                  ┌─────────┴─────────┐
                  ▼                   ▼
             [Resolved]        [Still Stuck]
                  │                   │
                  ▼                   ▼
              (Complete)     Check Power LED Behavior
                                      │
                  ┌───────────────────┴───────────────────┐
                  ▼                                       ▼
         [Steady Blinking Pattern]                   [Solid Light / Frozen]
                  │                                       │
                  ▼                                       ▼
         Note Fault Code / Flash                Attempt USB Firmware Force
         (Check Power Supply)
                                                          │
                                                 ┌────────┴────────┐
                                                 ▼                 ▼
                                            [Successful]      [Fails / Freezes]
                                                 │                 │
                                                 ▼                 ▼
                                             (Complete)     Mainboard NAND / EEPROM
                                                            Corrupted (Requires Repair)
5. Summary & Next Steps
A smart TV reboot loop fix is often achievable through soft resets or a force update TV firmware USB procedure. However, if the flash storage (eMMC/NAND IC) on the main board has developed bad blocks or degraded physically, the software update will continuously fail or freeze at 0%. At that point, acquiring a replacement mainboard or sending the unit for eMMC micro-soldering repair is the necessary step.
Experiencing a similar issue? Contact us for a no-obligation quote. We're here to help.
If you know what parts to look for, please visit Tech and Bids to search for what you need.